
So here we go! We did planter number two of six. I promise we won’t do this in-depth for each of them, but since we didn’t do a lot with the first one, we – well, I wanted to give you step by step.

We started with Sue unscrewing the outside panels.
Then we pried off the panels from the concrete. They came of relatively easily compared to the the first one. This time the concrete seemed to pull away from the wood as it dried.
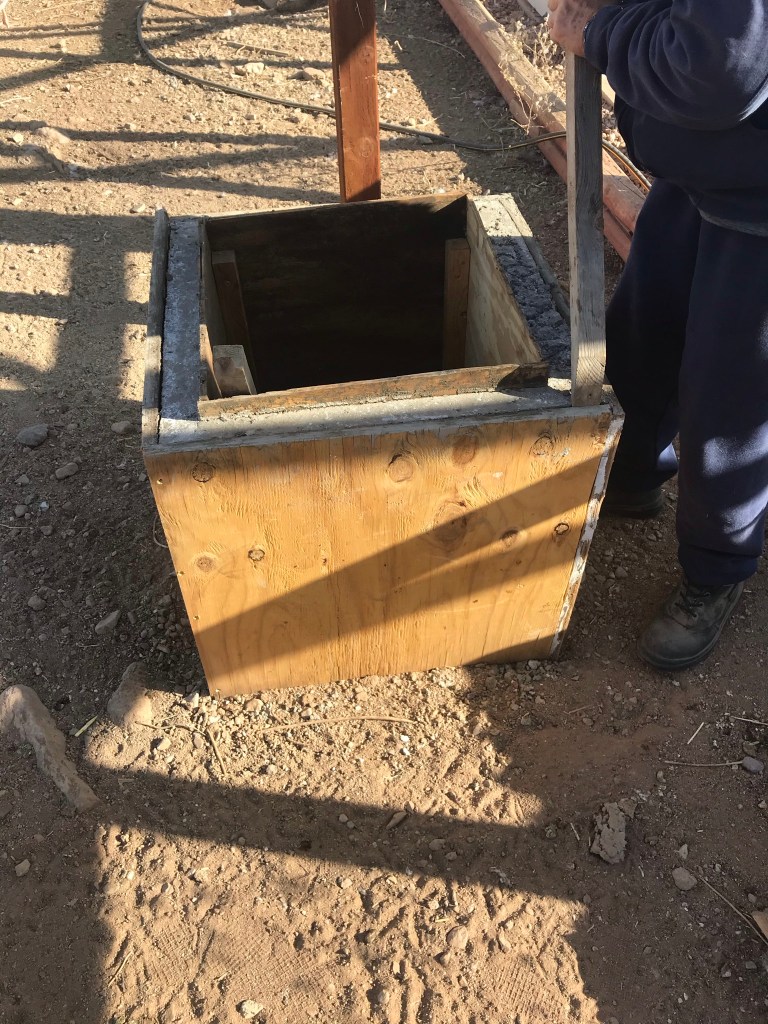
Then we followed the same steps for the inside.
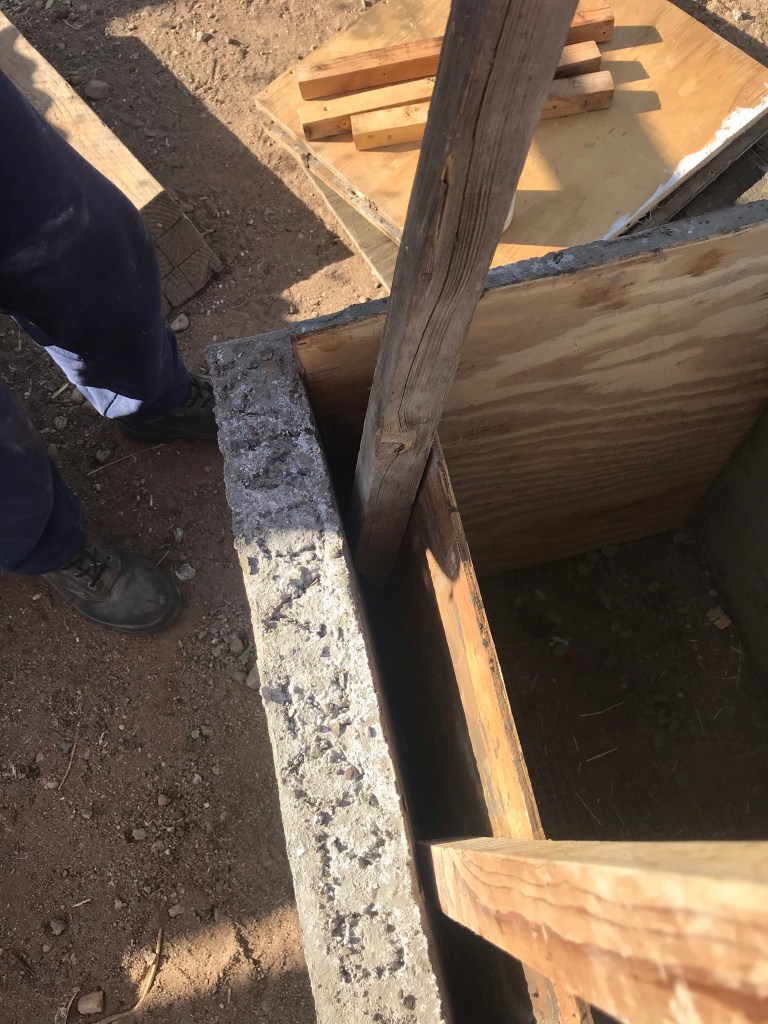
We had a bit more difficulty extricating the panels from the inside.

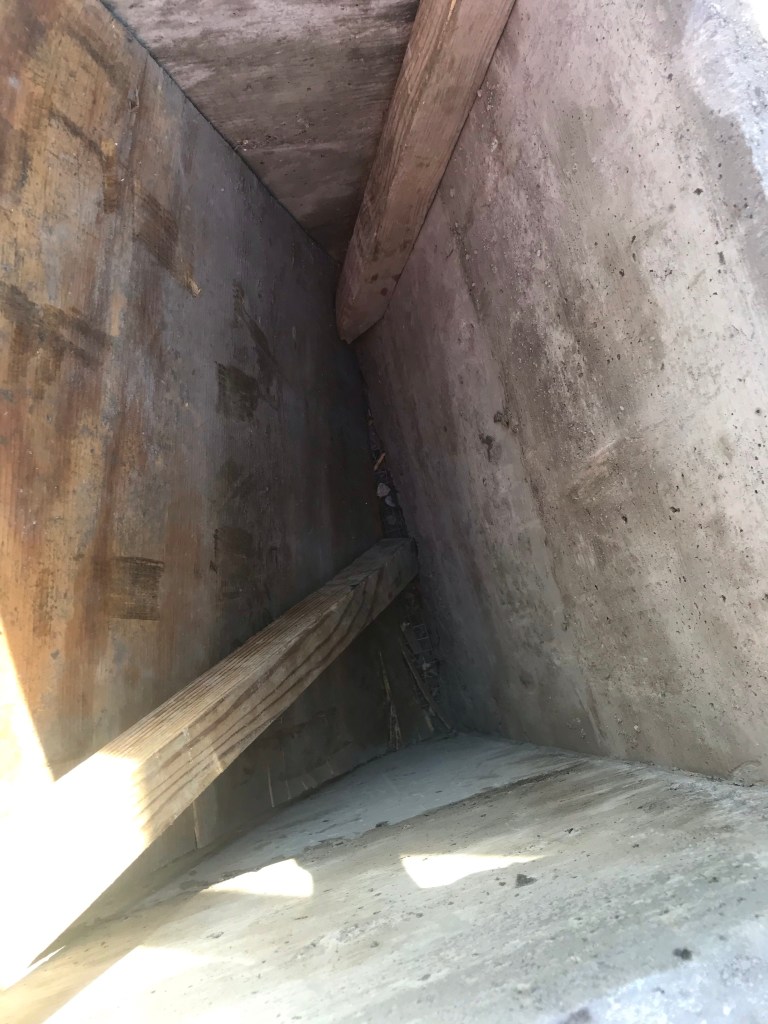
We ended up leaving the last part of the final panel. We just couldn’t get it out from the corners. Since we knew it wouldn’t be able to used for a third time anyway, we just decided to leave it. It’ll just compost over time.
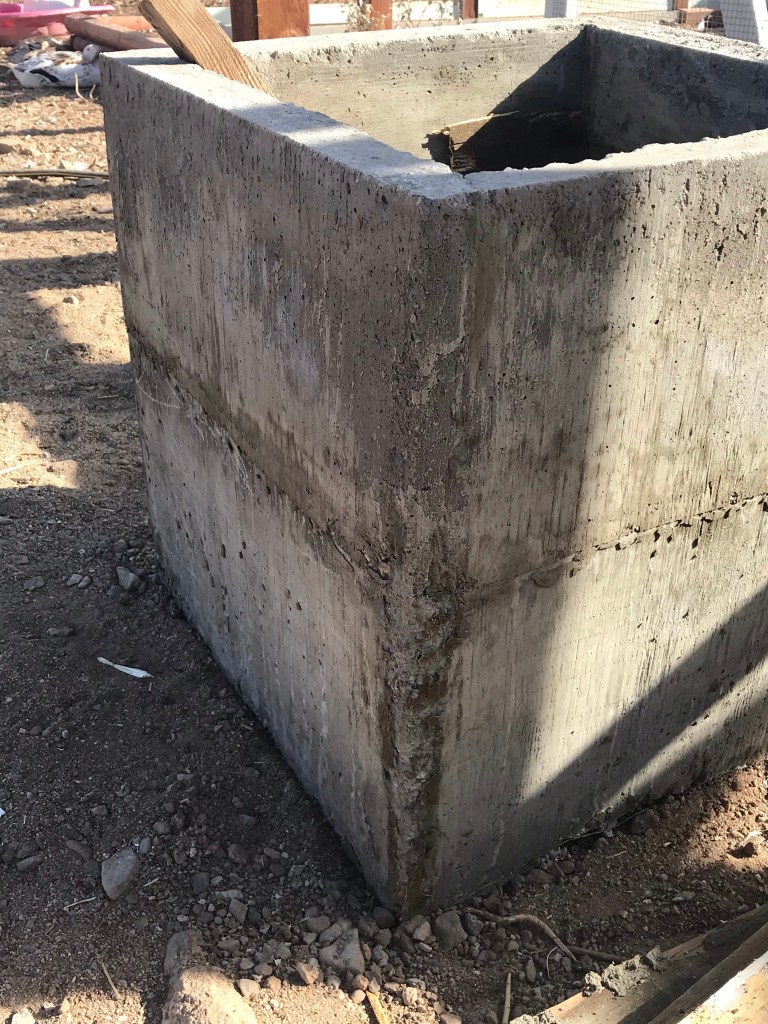
Here it is though. Our finished product. You can see the midline there where we had a week between pourings. Came out pretty nice.
In the future, we’ll just post them as wee finish them. Like we would normally with any other project. We have a few posts in the pipeline, so even though it is Thanksgiving weekend and my folks are here for a short visit, we’ll be posting as often as we can. Until then – here’s wishing you the best of Thanksgiving you can possibly have this year – plus, as always~
Thank you for reading!

Just from experience, the plywood we didnt get off the concrete ended up with termites! Since these are planters, and not a house I think you should be good!!
LikeLike