
We did a thing. Yesterday morning we worked on revamping the coop/tractor for Flattop, Nudie booty, and the ducks. This time I remembered to take photos, even though I didn’t remember my own phone.
As I’ve mentioned in some previous posts, we’ve had a bit of a skunk problem. Also a squirrel issue. They both tend to dig into the tractors that sit on the ground and steal eggs. Skunks during the night, squirrels by day. For that reason, and the fact that Sue’s getting some baby ducks and geese that she wants to add into this area, she wanted to fortify the bottom of the tractor and then eventually build a low sloping ramp and put it up on bricks. So we did the refortification yesterday, as step one. We’re letting them get used to the changes, then maybe we’ll add the ramp and then slowly raise it. They are funny creatures who are skeptical of changes. They were in and out of the coop all day after we finished, but at night – they were waiting for it to be back where it used to be, so they could go to bed. Sue says they were waiting in the spot the door used to be. So silly. I documented the steps (mostly) that we went through , I’ll put up the photos below so you will know how we re-coop a coop.
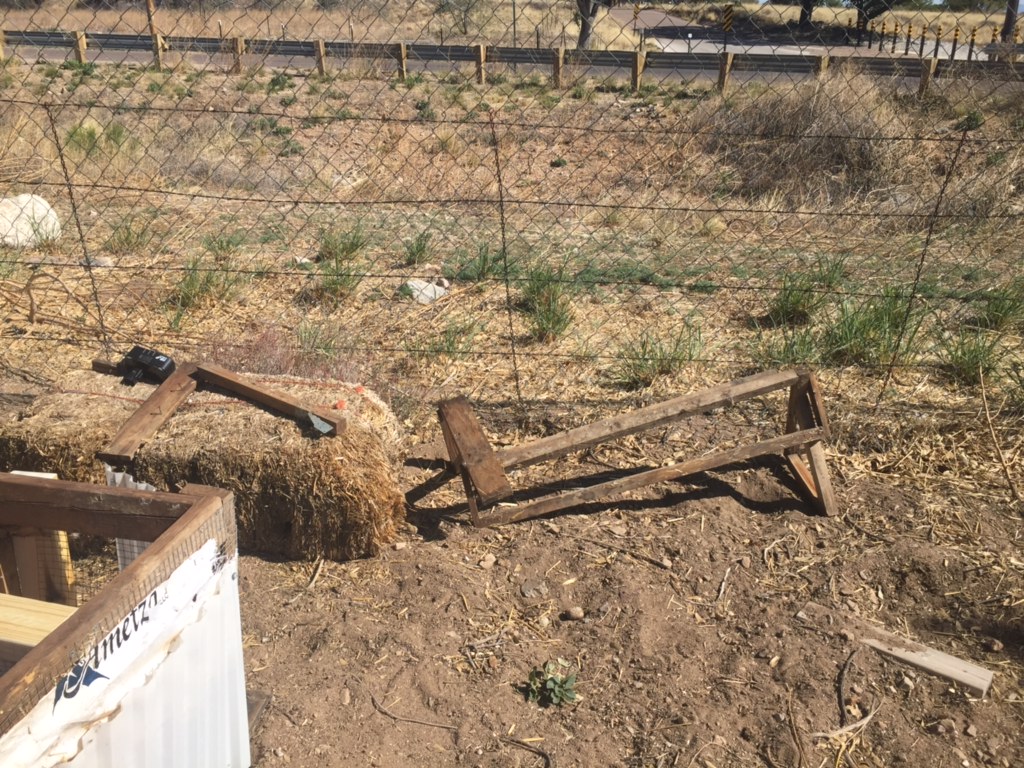
Step 1. Flip over coop and remove unused parts. There was a nesting box holder that we never used towards the back, and it just seemed to be in everyone’s way. We took that out and you see it crumpled by the fence.
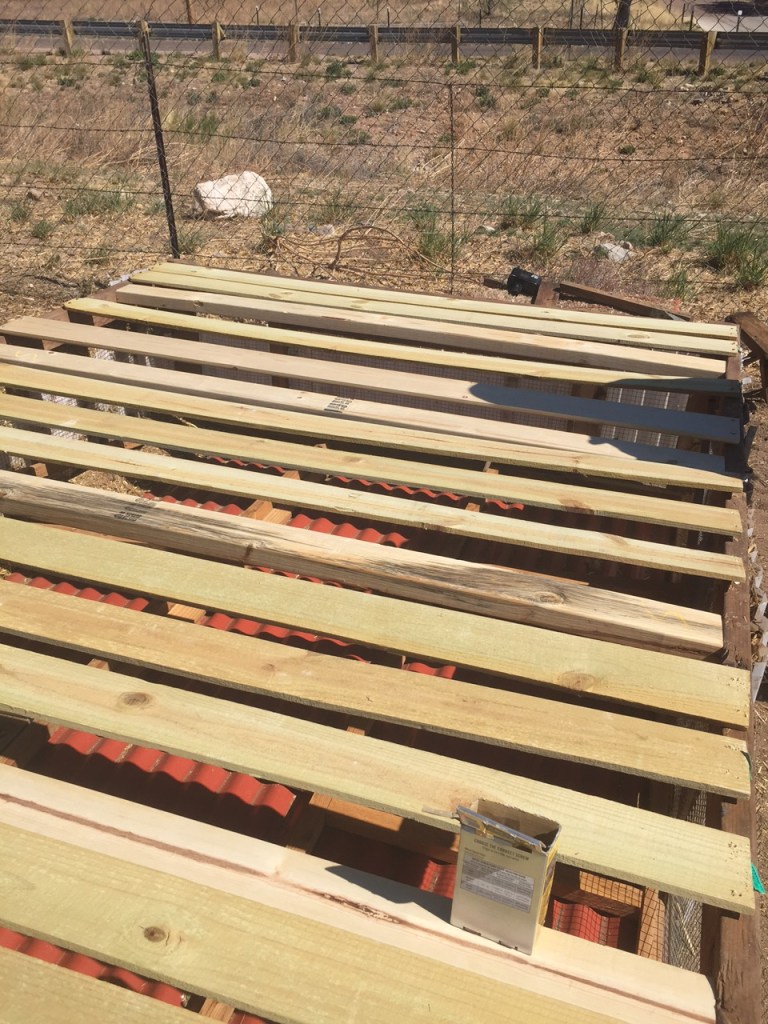
Step 2. Add some good sturdy 2×4’s to the bottom. You can sure tell the new wood from the old!
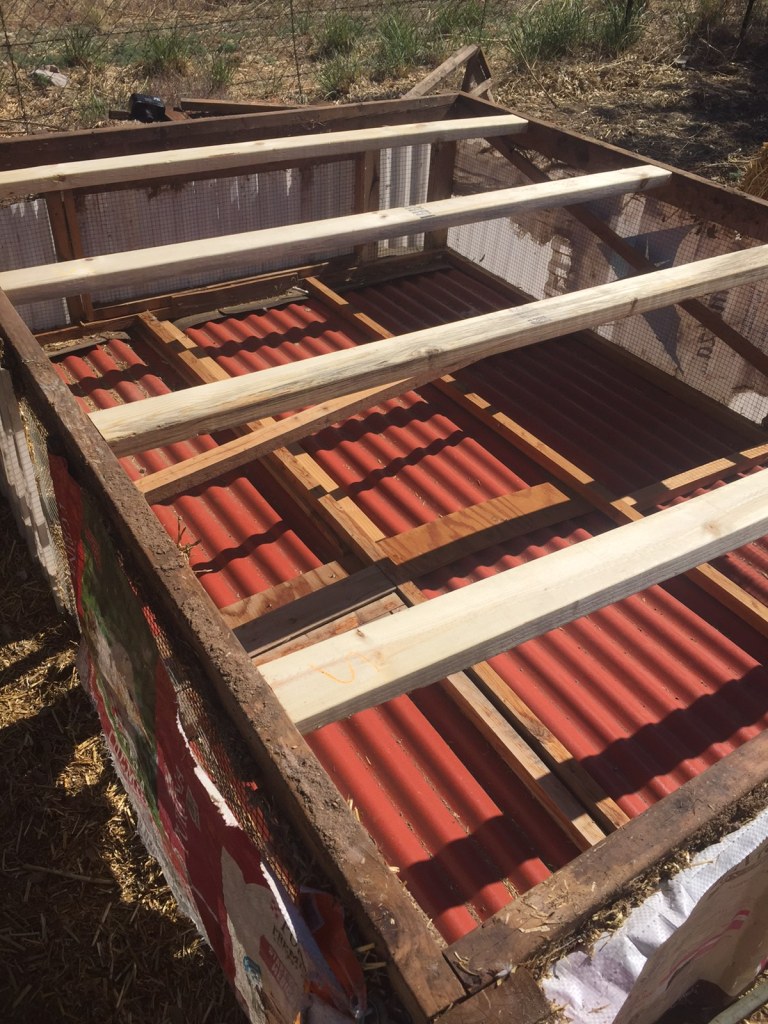
Step 3. Place slates between the 2×4’s and screw them in. This gives the birds a surface to walk on. Sue found that if the chicken wire goes on first and then the boards, the chickens don’t like to step on it. Also their claws get stuck in the wire occasionally, which annoys them.
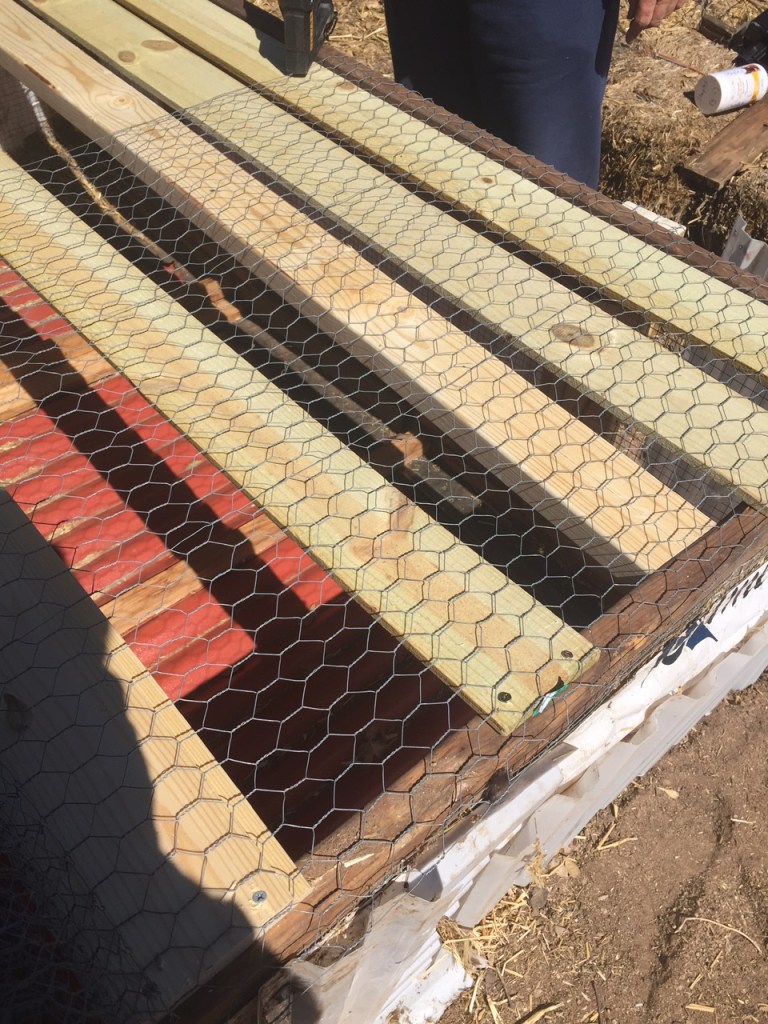
Step 4. Lay down, stretch and attach the chicken wire. This is what will really help to keep the varmints out. We stapled the heck out of it. Two widths, stretched, worked perfectly for coverage.
Step 5. Flip it right side up and give the chickens room to investigate. They went right in! You can play my accidental video if you want; you’ll hear me talking to them in my silly high pitched talking to chickens voice.

Finally, add straw and fluff it up so the chickens and ducks can make nice beds for themselves. There is also a roosting bar if they prefer that, but we only see the chickens using it occasionally. They’re used to nesting on the ground. Now they are safe and comfy.
That is how you re-coop a chicken coop! Only took us a couple hours so it was a successful morning project. We finished just as the wind began to come up. Perfect timing. There are a couple (or 20) more projects on the books, so I’ll just continue to give updates as they get attended to. Until then, as always~
Thanks for reading!
